Color and Lighting Techniques with Acrylic Paint
Course final project
A course by user637506 surname637506 , Illustrator and Textile Designer
Joined November 2017
Learn to work with color harmoniously to create the perfect mood in your illustrations
About the final project for: Color and Lighting Techniques with Acrylic Paint
Color and lighting techniques with acrylic paint
“I invite you to create your own projects, using and mixing the ideas learned within this course, as you are encouraged to make some complex illustration or series of illustrations in which color and shadows are the protagonists. Now that you know them, follow or break the rules to favor the communicational value of the proposal. Next, I am going to review the different phases to follow to develop the final project: Pencil drawing In principle, I suggest you create a simple illustration, in pencil, on a watercolor paper or cardboard. Decide how you want to finish the edge of the illustration (pushing the acrylic to the end, applying tape, or just leaving a white border). It can be an illustration in an open or closed space, in which there is a certain focal length and some elements or characters distributed in the space.
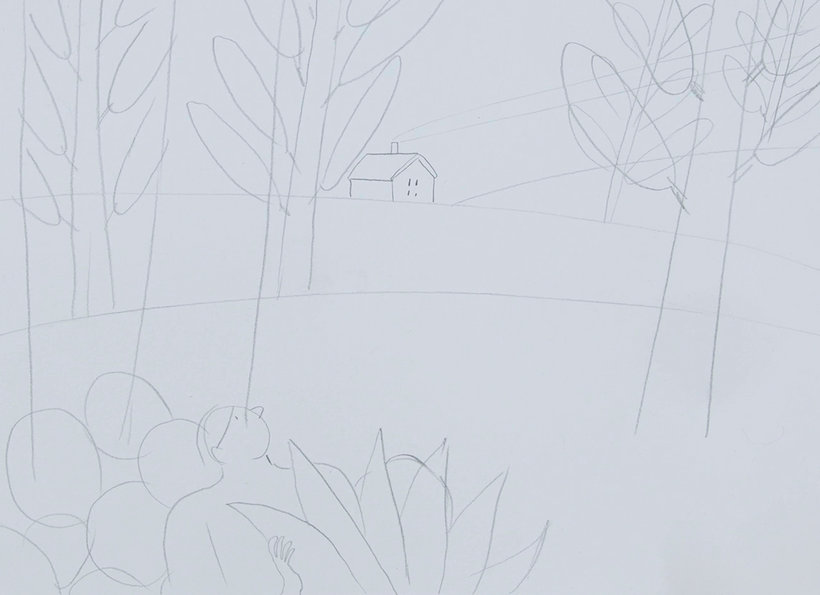
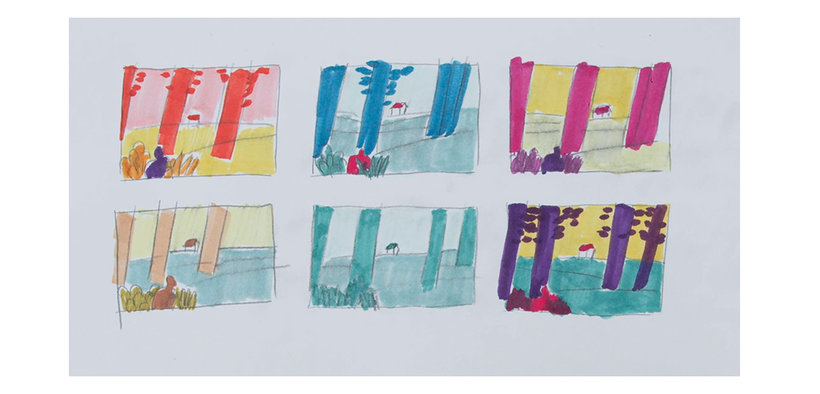
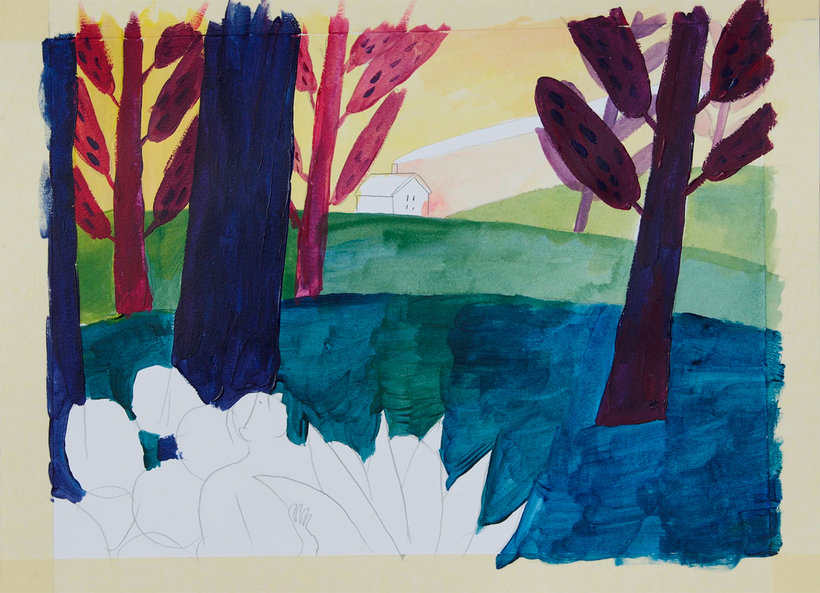
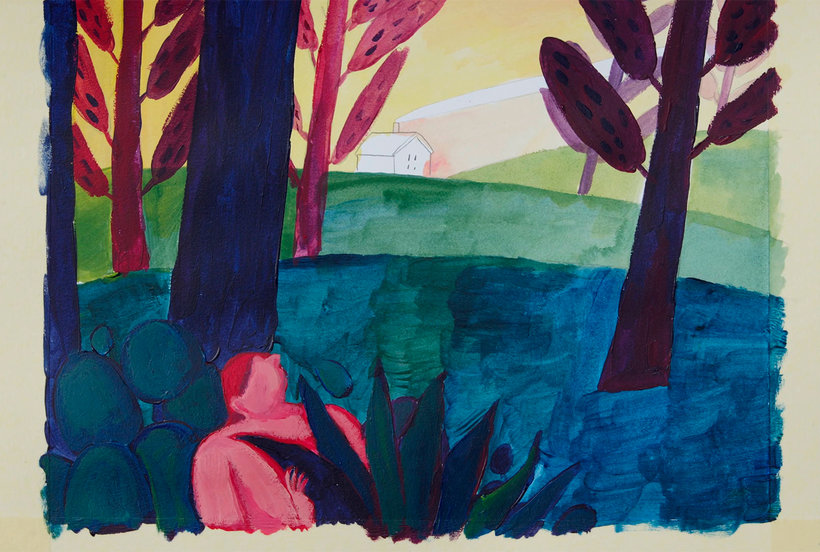
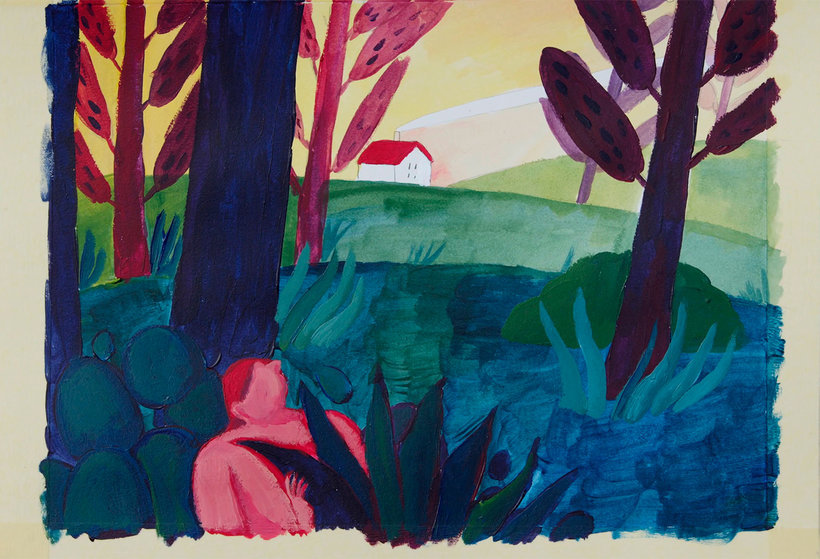

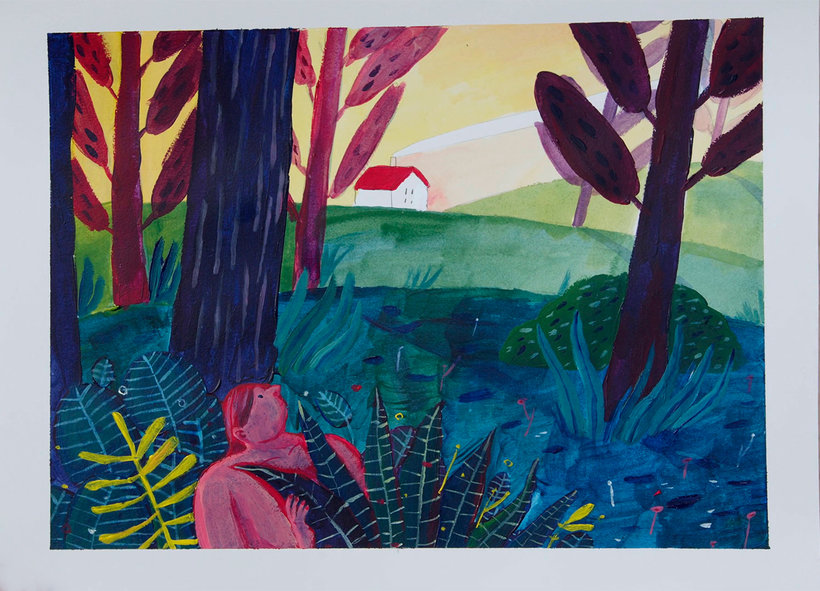
Partial transcription of the video
“Final project In this lesson I will tell you more about the final project. Before we started we were seeing some things as technical data on highlights and shadows or the basic operation of acrylic. And then we started to raise the illustration. We made some small thumbnails of the sketch. We were coloring them to choose the color palette. And then we started directly to apply the acrylic on the illustration marking first a distance and then generating a volume about our main focal point. Then we add details in the illustration with a fine brush and we gave it a final tone that helps us to ...”
This transcript is automatically generated, so it may contain mistakes.
Course summary for: Color and Lighting Techniques with Acrylic Paint
-
Category
Illustration -
Areas
Acrylic Painting, Creativity, Painting, Traditional illustration

A course by user637506 surname637506
Sole Otero is an illustrator, textile designer, and comic artist. Her graphic novels and children’s books have been published around the world by publishers like La Cúpula or Salamandra Graphic. She was also awarded the FNAC Graphic Novel Award for her book Naftalina.
Color is the most salient feature of her compositions, but she compliments her storytelling by experimenting with words and illustrations. When she’s not creating, she shares her passion for art by teaching classes on expressive mediums, embroidery, knitting, illustration, and comics.
- 100% positive reviews (135)
- 2,989 students
- 16 lessons (3h 7m)
- 16 additional resources (2 files)
- Online and at your own pace
- Available on the app
- Audio: Spanish
- Spanish · English · Portuguese · German · French · Italian · Polish · Dutch
- Level: Beginner
- Unlimited access forever


